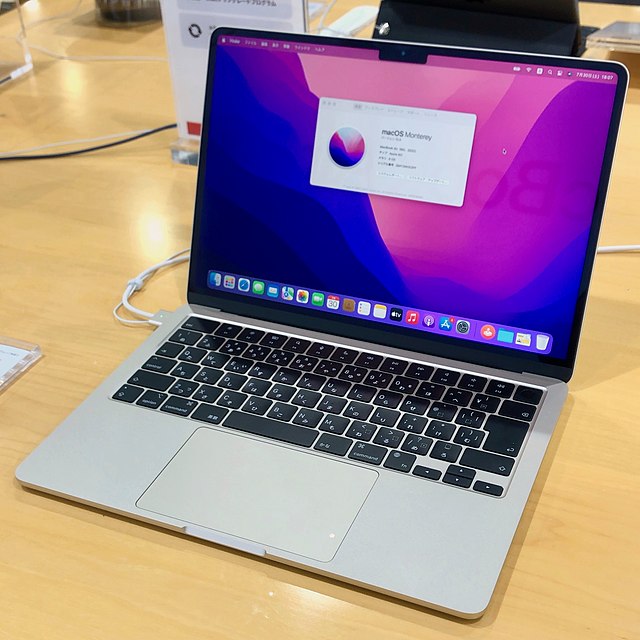
There are three standard keyboard keys you can use to capture a screenshot on any current Mac, and if you have a MacBook Pro with a Touch Bar, you can also use a fourth shortcut. You also have a good variety of options in Apple’s macOS program to quickly save, remove, and view the snapshot for annotation. These guidelines also apply to the newest Macs, such as the M2 MacBook Air and the recently upgraded 13-inch MacBook Pro with a new M2 processor. The same advice applies to macOS Ventura, the next operating system upgrade, which is still in beta, according to our preliminary tests.
Cmd-Shift-3
With the use of this keyboard shortcut, you may screenshot your full screen.
Cmd-Shift-4
With the use of this keyboard shortcut, you can transform your cursor into a crosshair that you can drag to choose a specific area of your screen to record. To snap the picture, let go of the mouse or trackpad button. After pressing Cmd-Shift-4, you have a variety of alternative options, including Using the spacebar, and then letting go: You may drag the little camera symbol that appears in place of the crosshair over any visible window. To capture a screenshot of the window you want, click on it. This approach produces screenshots with a white border around the window and a faint drop shadow.
After highlighting a region with the mouse, hold down the spacebar while still holding down the mouse button or trackpad to lock in the selected area’s size and form while allowing you to move it about the screen. If your initial selection region is off by a few pixels, you may easily adjust it by holding down the spacebar before releasing the mouse button to take a screenshot. After dragging to highlight a region but before releasing the mouse button or trackpad, hold down the Shift key: This secures all sides of the crosshair-made selection area except for the bottom edge, allowing you to set the bottom edge by dragging the mouse up or down.
Reposition the right border of your selection area by releasing the Shift key while continuing to hold down the mouse button. By holding down the Shift key while using the mouse button or touchpad, you may switch between moving the bottom and right edges.
Cmd-Shift-5

Cmd-Shift-5, a shortcut command, opens a tiny panel containing your screen capture choices at the bottom of your display. It was first featured in macOS Mojave in 2018. You may take a screenshot of your full screen, a window, or a portion of it using one of the three buttons. Likewise, the two video-recording buttons let you record your entire screen or a selection of it. On the left is an X button to close the screenshot panel, but you can also just hit the Key for the escape hatch. There is an options button on the right side. It allows you to set a 5- or 10-second delay so you can line up items that might otherwise disappear when you use your screenshot tool. You can choose where to save your screenshot — Desktop, Documents, Clipboard, Mail, Messages, Preview, or Other Locations. The Show Floating Thumbnail option, which by default is enabled, displays a tiny preview thumbnail of the screenshot you just took in the lower-right corner of your screen, much to how iOS handles screenshots. On your Mac, you have the option to disable this preview thumbnail, unlike on your iPhone. Finally, you may decide whether to include a screenshot or video of your mouse pointer. You can grasp the left edge of the screenshot panel and move it to a different location on your screen if it is blocking your view.
Cmd-Shift-6
You may also snap a screenshot of what is now shown on the Touch Bar if you have an earlier 15- or 16-inch MacBook Pro or a current 13-inch MacBook Pro, which is the very last model with the Touch Bar. To snap an extremely long and slender screenshot of your Touch Bar, simply press Cmd-Shift-6.
Effortless annotation
You’ll have easy access to Markup tools to annotate your screenshot if you choose the Floating Thumbnail. It will be saved to the location where you most recently saved a screenshot whether you swipe away the floating thumbnail or just let it disappear on its own. Click the Floating Thumbnail and it’ll open in a Markup View preview window (but not Preview) with all of the markup capabilities you receive in Preview.
Right-clicking the Floating Thumbnail will allow you to:
- To your desktop, Documents folder, or clipboard, save the captured image.
- Open it in Preview, Mail, Messages, or Photos.
- Display in Finder
- Delete
- Open it in the previously mentioned Markup preview window.
- Close (and save) (and save)
The Cmd-Shift-5 shortcut may take some time for longtime Mac screenshot users to get used to, but I find that I use it more since it allows me to rapidly remove screenshots that I know I made a mistake on and annotate screenshots without opening Preview. The inclusion of the 5- and 10-second delay options is very beneficial and welcome.